Concrete Driveway Installation in Napa CA: Step-by-Step Guide for Homeowners (2026)
Installing a concrete driveway is a major improvement for any Napa property. A properly installed driveway improves daily functionality, enhances curb appeal, and adds long-term value. But the quality of the final result depends heavily on how the driveway is planned, prepared, and installed.
This guide explains the concrete driveway installation process in Napa CA, step by step, so homeowners understand what to expect, how long each phase takes, and why proper preparation matters.
If you are considering a new driveway or replacing an existing one, knowing how installation works helps you make informed decisions and avoid costly mistakes.
Why Proper Concrete Driveway Installation Matters
Concrete driveways are designed to handle daily vehicle traffic, weather exposure, and long-term wear. When installation shortcuts are taken, problems like cracking, settling, and drainage issues can appear much sooner than expected.
A professionally installed driveway focuses on:
- Stable base preparation
- Correct concrete thickness
- Proper reinforcement
- Controlled curing
- Long-term performance
This is why many homeowners work with experienced Concrete Driveway Contractors Napa CA rather than treating driveway installation as a simple pour.
Step 1: Site Evaluation and Planning
Every concrete driveway installation begins with an on-site evaluation. No two Napa properties are exactly alike, and site conditions play a major role in how the driveway should be built.
During this phase, contractors assess:
- Driveway size and layout
- Property slope and drainage flow
- Soil type and stability
- Access points and vehicle use
- Finish and design preferences
Planning at this stage helps avoid future problems and ensures the driveway fits the property both visually and functionally.
This step is also when homeowners receive guidance on Concrete Driveway Cost in Napa CA, based on the scope of work and site conditions.
Step 2: Demolition and Removal (If Replacing a Driveway)
If the project involves replacing an existing driveway, the old concrete must be removed first.
This includes:
- Breaking up the existing slab
- Removing debris and materials
- Clearing the area for base preparation
Replacement projects often cost more than new installations because they include demolition and disposal, but they also allow underlying issues like poor drainage or base failure to be corrected.
Step 3: Base Preparation and Grading
Base preparation is one of the most important steps in Concrete Driveway Installation Napa homeowners should understand. Even the strongest concrete cannot perform well without a stable base.
Proper base preparation includes:
- Excavating to the correct depth
- Installing a compacted gravel base
- Ensuring even support across the driveway
- Grading for proper water runoff
In Napa, soil conditions vary from clay-heavy to mixed soils. Some properties require deeper base preparation to prevent settling or movement over time.
Skipping or rushing this step is one of the most common causes of driveway failure.
Step 4: Forming the Driveway Shape
Once the base is prepared, forms are installed to define the driveway’s shape, edges, and elevation.
Forms ensure:
- Clean, straight edges
- Consistent thickness
- Proper slope for drainage
This step is also where details like driveway width, curves, and transitions to sidewalks or garages are finalized.
Step 5: Reinforcement Installation
Reinforcement strengthens the concrete and helps control cracking over time.
Most residential concrete driveways include:
- Steel rebar
- Wire mesh
- Reinforcement at stress points
Reinforcement does not prevent cracks entirely, but it helps keep cracks controlled and minimizes movement. This is especially important for driveways that support heavier vehicles or frequent traffic.
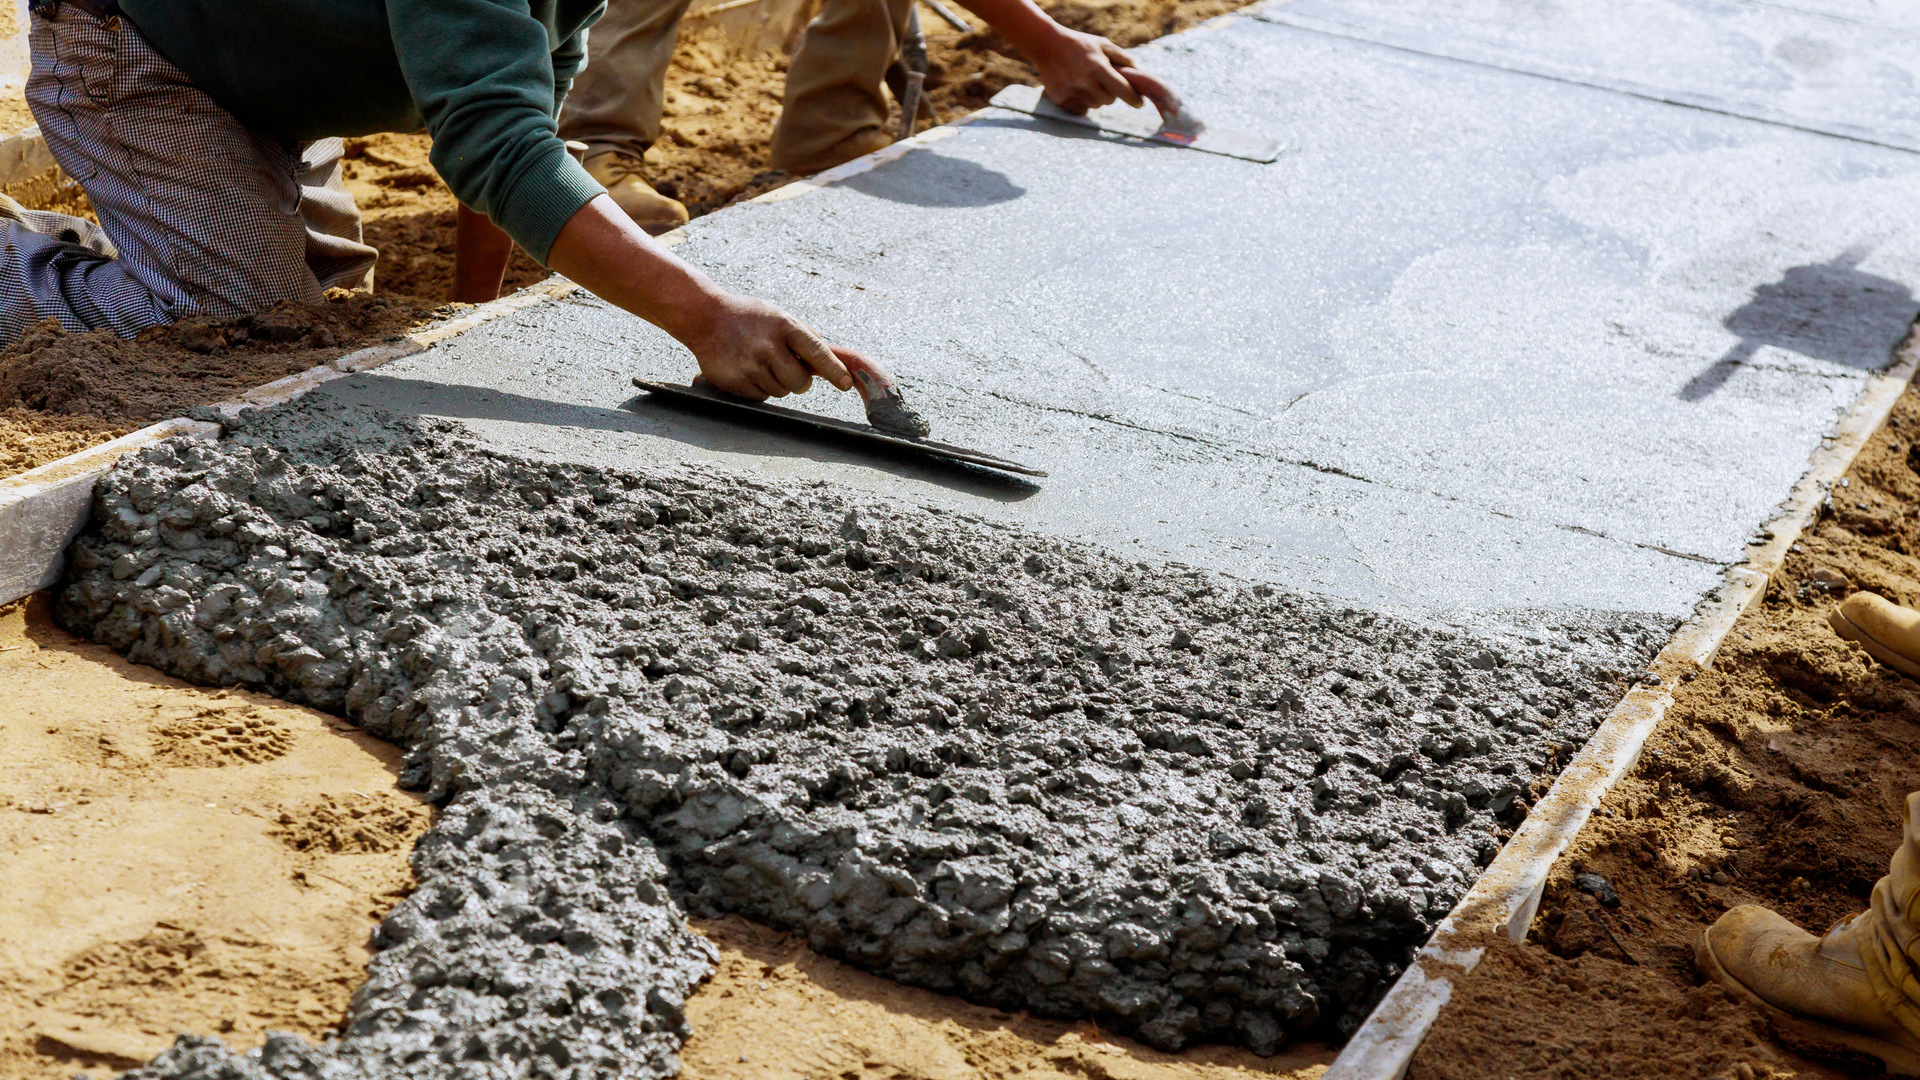
Step 6: Pouring the Concrete
Once everything is prepared, the concrete is poured.
During this stage, the crew:
- Places concrete evenly across the forms
- Levels the surface to the correct height
- Ensures consistent thickness throughout
Timing matters during the pour, especially in warmer Napa weather. Experienced crews work efficiently to maintain concrete quality before it begins to set.
Step 7: Finishing the Surface
After pouring, the concrete is finished based on the selected style.
Common driveway finishes include:
Brushed concrete
- A clean, lightly textured surface that improves traction and suits most homes.
Stamped concrete
- Decorative patterns that resemble stone, slate, or brick.
Colored concrete
- Integral or surface color added to enhance visual appeal.
Finish selection affects both appearance and cost as decorative finishes require additional labor and materials.
Step 8: Control Joints and Edge Work
Control joints are added to guide where cracks may naturally form as the concrete cures and expands.
Proper joint placement:
- Reduces random cracking
- Improves long-term appearance
- Enhances durability
Edges are also finished carefully to protect against chipping and wear.
Step 9: Curing the Concrete
Curing is one of the most critical yet overlooked parts of concrete driveway installation.
Concrete does not reach full strength immediately. Proper curing allows it to harden gradually and develop long-term durability.
Typical curing timeline
- Foot traffic: 24–48 hours
- Light vehicle traffic: 7 days
- Full strength: 28 days
Homeowners should follow all post-installation guidelines to protect the surface during this period.

How Long Does Concrete Driveway Installation Take?
Most concrete driveway installations in Napa follow this general timeline:
- Demolition and prep: 1–2 days
- Base preparation and forming: 1–2 days
- Pouring and finishing: 1 day
- Initial curing before use: several days
Weather, site complexity, and finish choices can affect the schedule.
Common Installation Mistakes to Avoid
Understanding common mistakes helps homeowners recognize the value of professional installation.
Inadequate base preparation
Leads to settling and cracking.
Improper drainage
Causes water pooling and long-term damage.
Incorrect thickness
Reduces load-bearing strength.
Poor curing practices
Weakens the concrete surface.
These issues often result in premature repairs or full replacement.
Concrete Driveway Installation vs Repair
Not every driveway needs replacement. However, installation may be the better option when:
- Cracks are widespread or structural
- Sections are uneven or sunken
- Drainage problems persist
- Repairs have been repeated multiple times
In these cases, installing a new driveway provides better long-term value than ongoing repairs.
Why Local Experience Matters in Napa
Napa’s climate, soil conditions, and property layouts require localized knowledge. A contractor familiar with the area understands how to:
- Adjust base depth for soil behavior
- Plan drainage for seasonal rainfall
- Schedule pours for ideal curing conditions
Working with a local Napa concrete contractor improves outcomes and reduces risk.
How Installation Impacts Long-Term Cost
A well-installed driveway may cost more upfront but typically costs less over time.
Proper installation reduces:
- Early cracking
- Surface deterioration
- Drainage failures
- Repair frequency
This is why installation quality plays a major role in overall cost across the lifespan of the driveway.
Final Thoughts
Understanding the installation process helps homeowners plan confidently and set realistic expectations. Each step, from base preparation to curing, contributes directly to how the driveway performs over time.
When installed correctly, concrete driveways provide long-lasting durability, a clean appearance, and dependable performance for Napa homes.
If you are planning a new driveway or replacement, working with Kapono Meyer Concrete, experienced Concrete Driveway Contractors Napa CA, helps ensure the project is handled correctly from start to finish.